To make it easier for you, you may use the Tag feature to categorize your customer requests. Currently, it's available in the HelloToby App.
Web User
1. Click on the profile picture on the top right of the page
2. Click "User Centre" in the drop-down list
3. Click on "My Quotes" the service requests you quoted will be shown on " All Quotes "
4. Choose the request you would like to add the tag
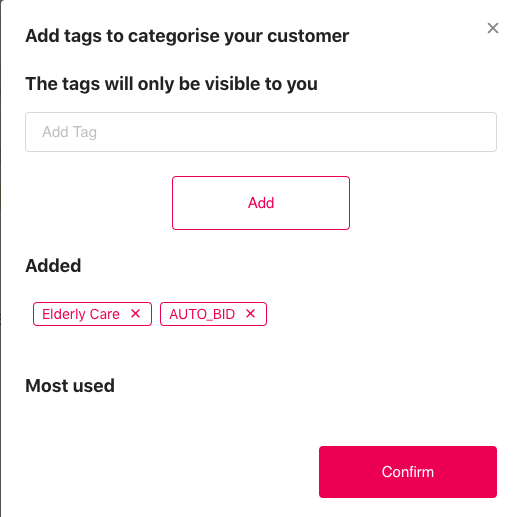
5. Click "+Add Tag "
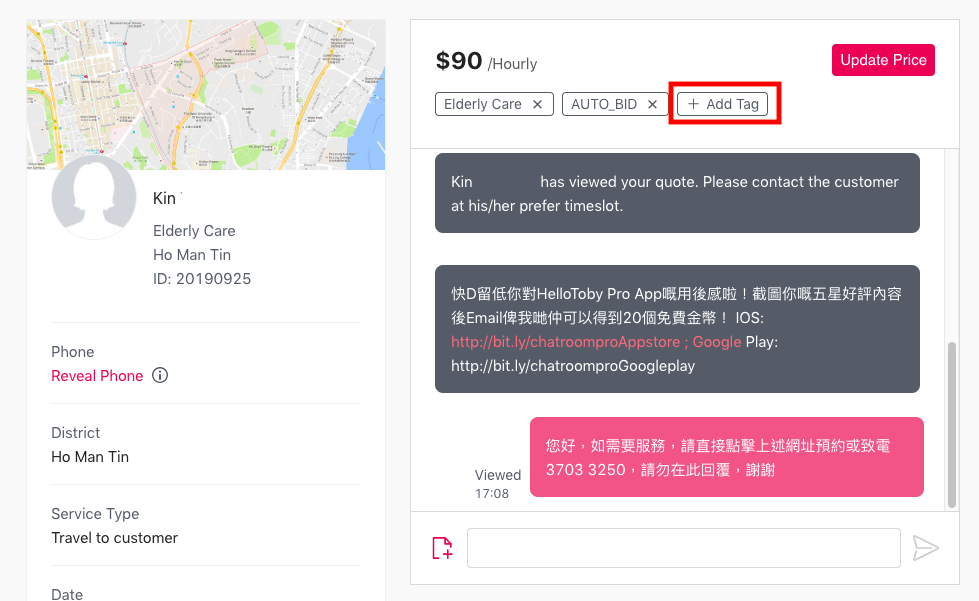
6. Create or Select the Tag you want
7. The Tag will be shown next to the username after added
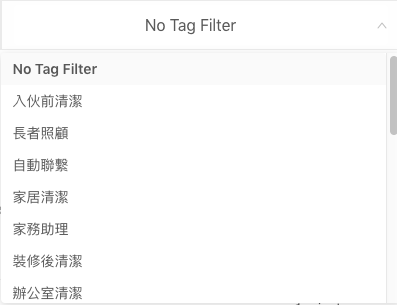
8. If you'd like to sort the request by the Tag, simply click "No Tag Filter" on the Projects page
9. Choose the Tag you want to use for filter
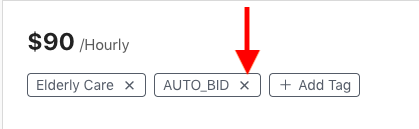
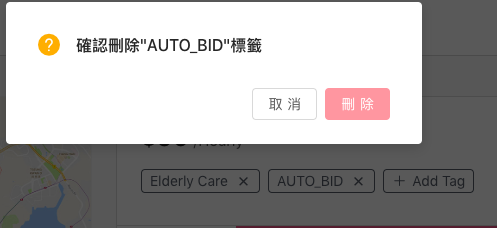
10. If you want to remove the Tag, click "X" on the tag and click "Remove" to delete it
App User
1. After log-in, click on "Requests"
2. Select the customer request you would like to add the tag
3. Click "+Add Tag "
4. Create or Select the Tag you want
5. The Tag will be shown next to the username after added
6. If you'd like to sort the request by the Tag, simply click "No Tag Filter" on the Projects page
7. Choose the Tag you want to use for filter
8. If you want to remove the Tag, click "X" on the tag and click "Remove" to delete it